This guide provides step-by-step instructions for successfully using a Bring Your Own Device (BYOD) Android tablet with a 3D Earthworks machine equipped with the add-on Trimble Marine Construction system and no TD display.
1. Scope and requirements
An Earthworks TD5xx display is not usually required on a marine system since TMC is the operator interface. The EC520 Tech web interface can be used for all of the configuration tasks except:
-
Project selection
-
Uploading project files such as Designs and Site Calibration
These tasks require either a TD5xx display or a BYOD running Earthworks.
This document describes the use of a BYOD to load these files onto the EC520 for a marine project.
Requirements
-
3D Earthworks system with TMC add-on and no TD display
-
Android Tablet: Must run Android OS version 6 or newer and have a screen size of at least 8”
-
EC520 with Wifi enabled
-
Earthworks licenses must be located on the EC520

2. Connecting the Device to the EC520
Wireless Connection (Wi-Fi)
-
Enable Wi-Fi on the EC520 using the web interface
-
On the Android device, connect to the EC520 Wi-Fi
-
Open a browser on the BYOD and connect to 192.168.168.1
-
Log in to the Earthworks web interface
3. Installing the Operator App
-
Select ‘Install Operator App’ from the Advanced menu

-
Follow the instructions to download and install the MCInstaller apk
-
Allow permission to install the unknown app if prompted
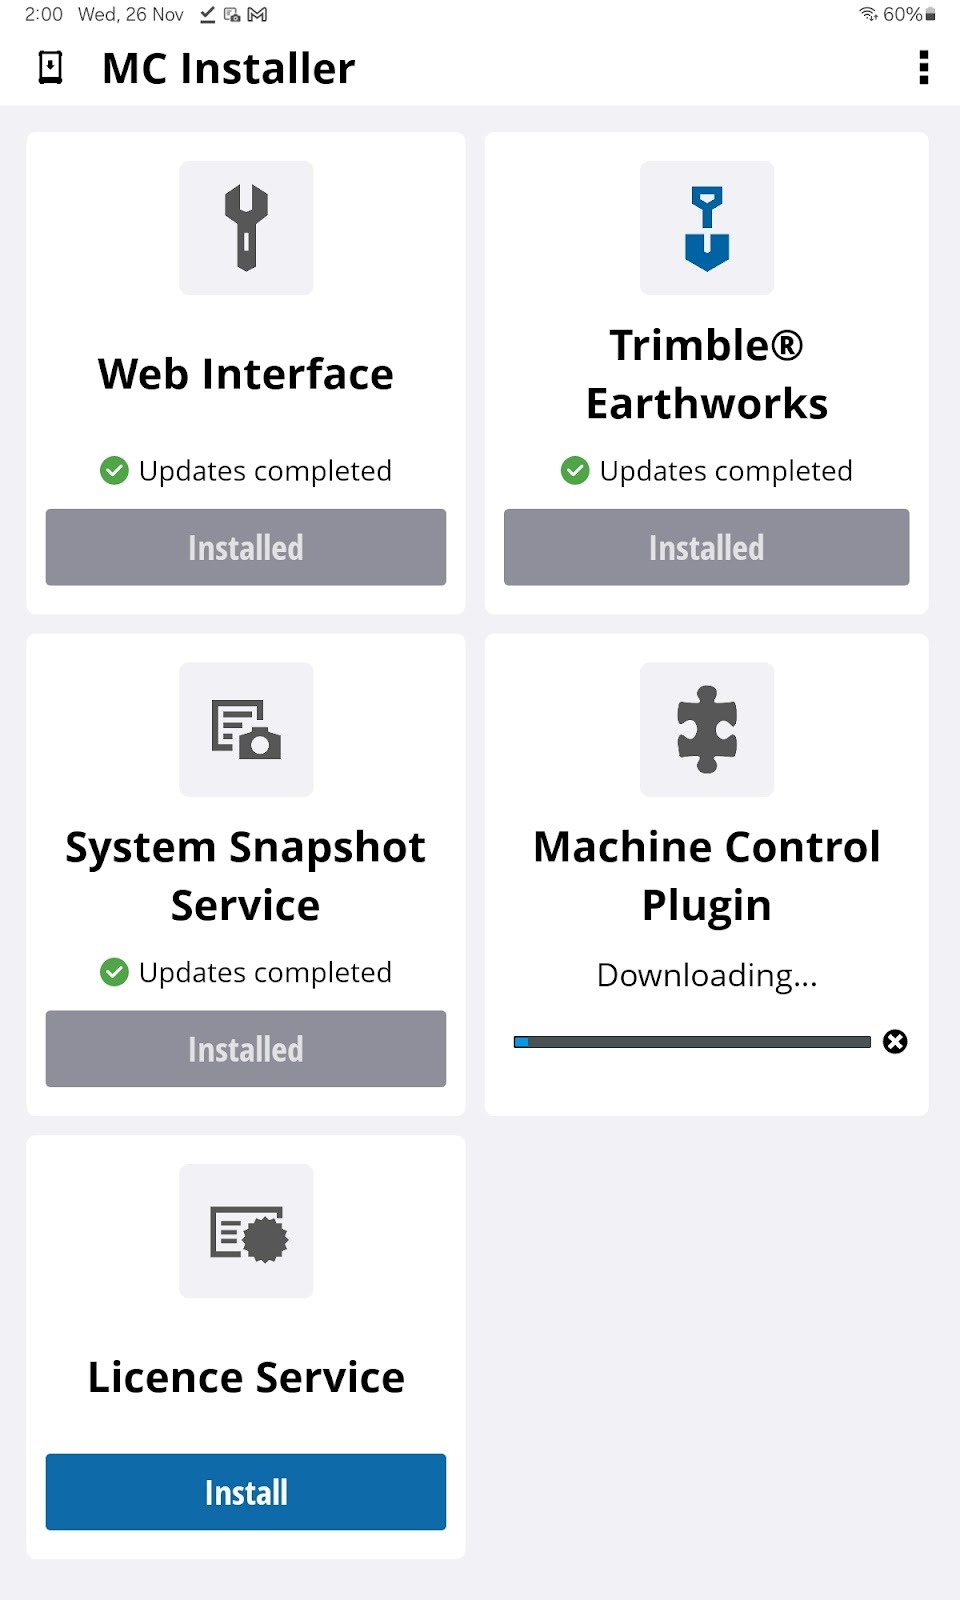
4. Using the Machine Control plugin
-
Use the desktop icon to open the Earthworks App
-
Click on the Job Setup icon on the dashboard

5. Setting up the project for a marine system
If the project has already been configured in Works Manager then the user only needs to select it from the list.
Creating a new project
It is also possible to create a new project and add a Site Calibration
-
Attach the USB drive containing the files
-
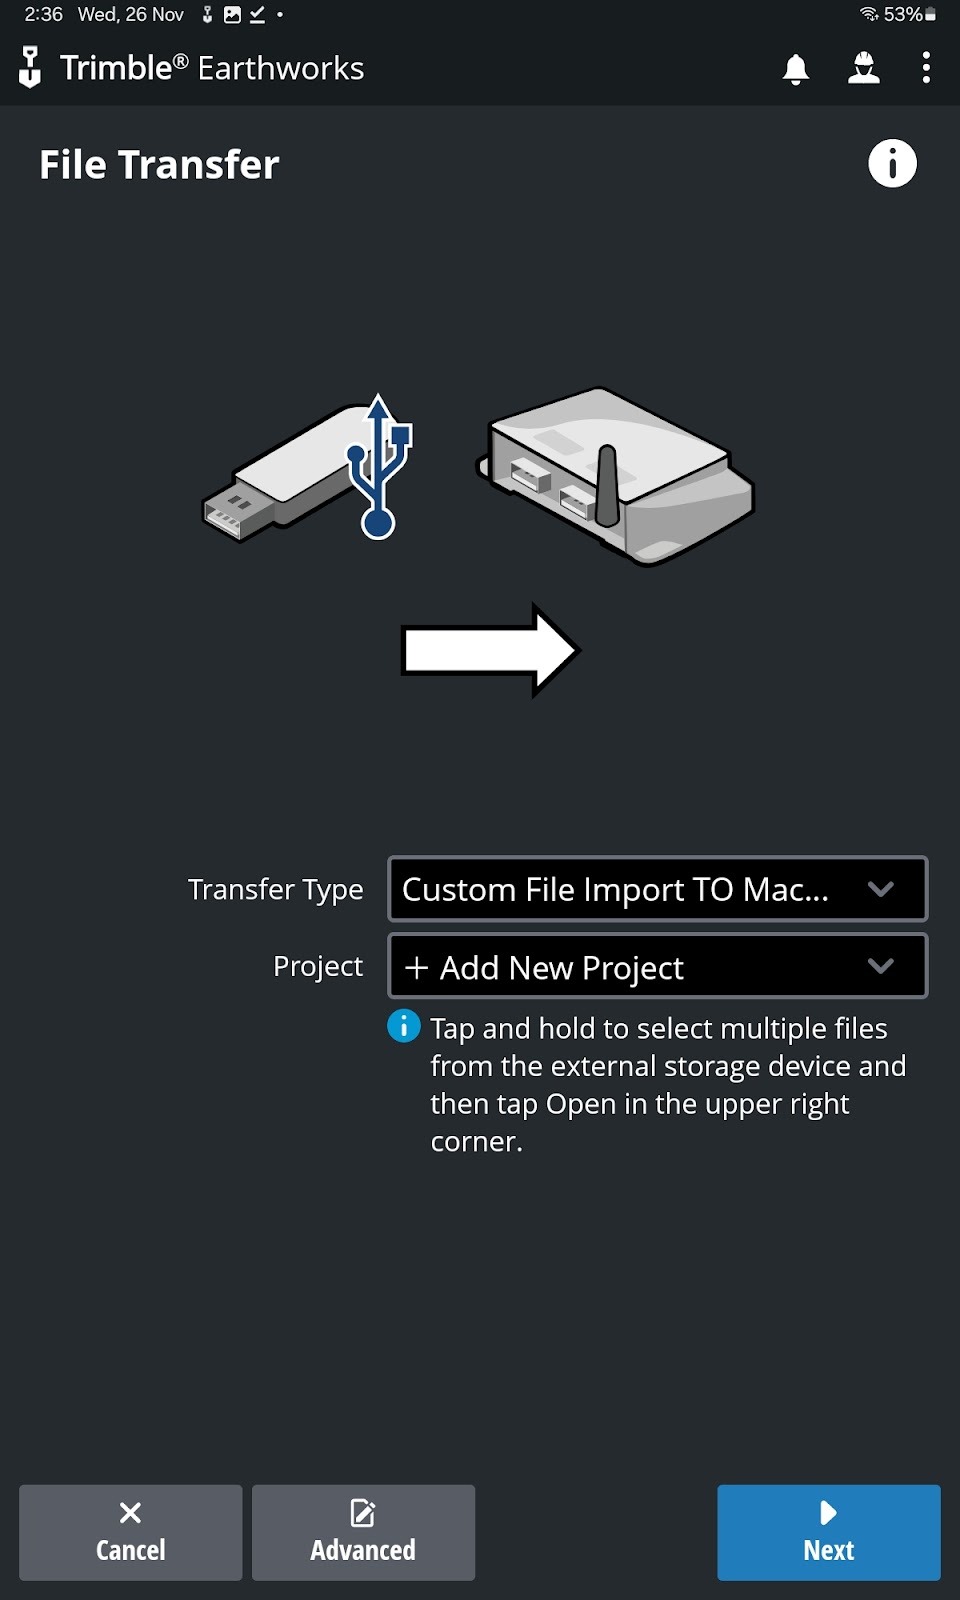
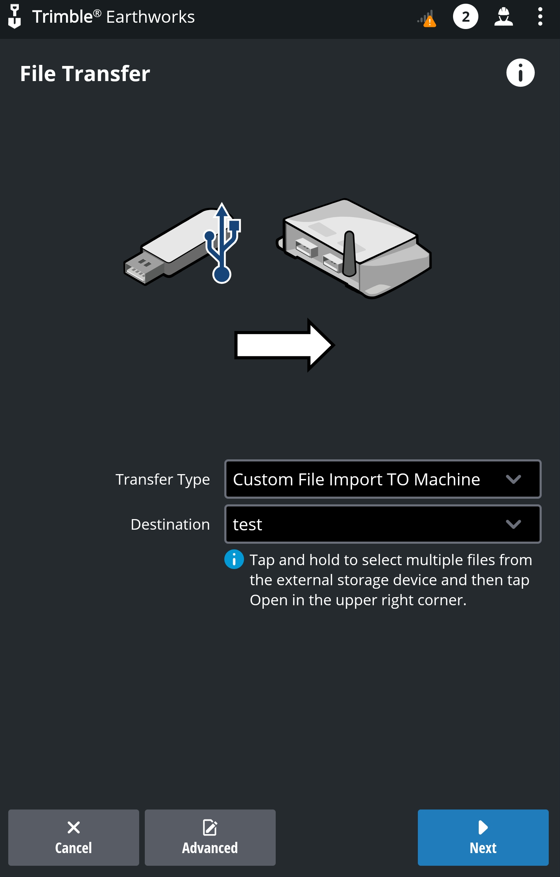
Job Setup - File Transfer
-
Custom File Import TO Machine
-
Add New Project - Next
-
Name the Project and Select the Default
(Universal) Coordinate Setup

-
Save the new Project
-
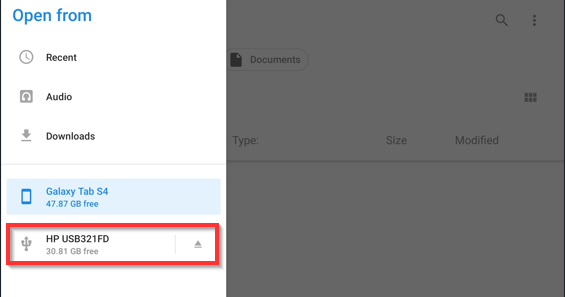
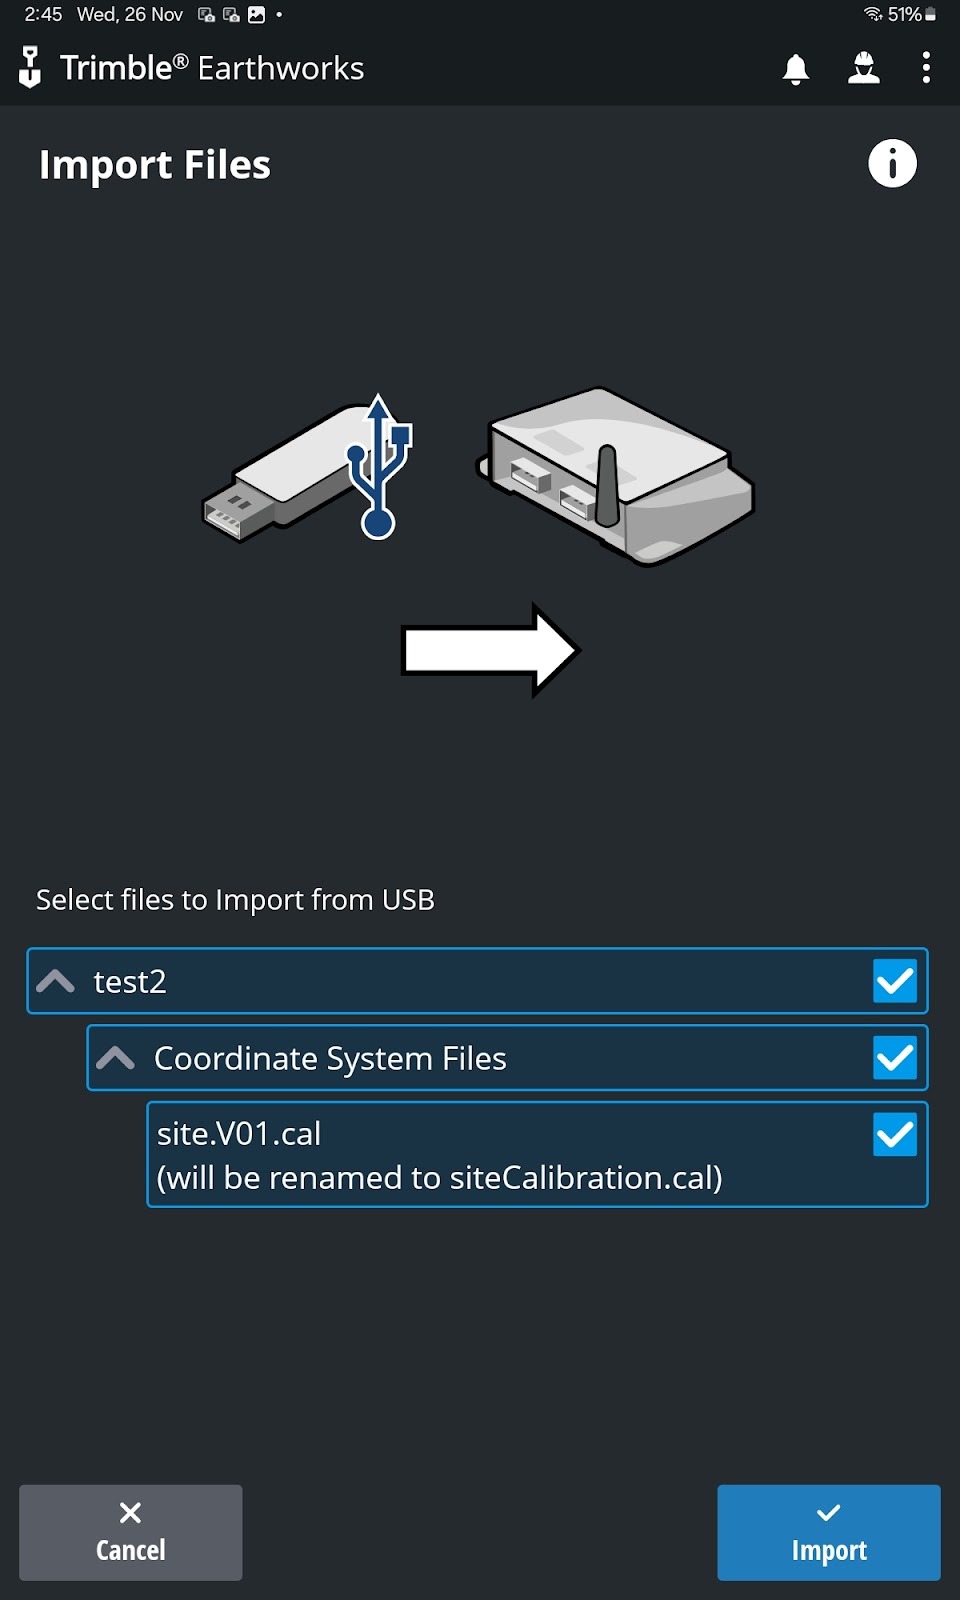
Use the 3 lines icon (top left) in the Android file manager to select the USB drive

-
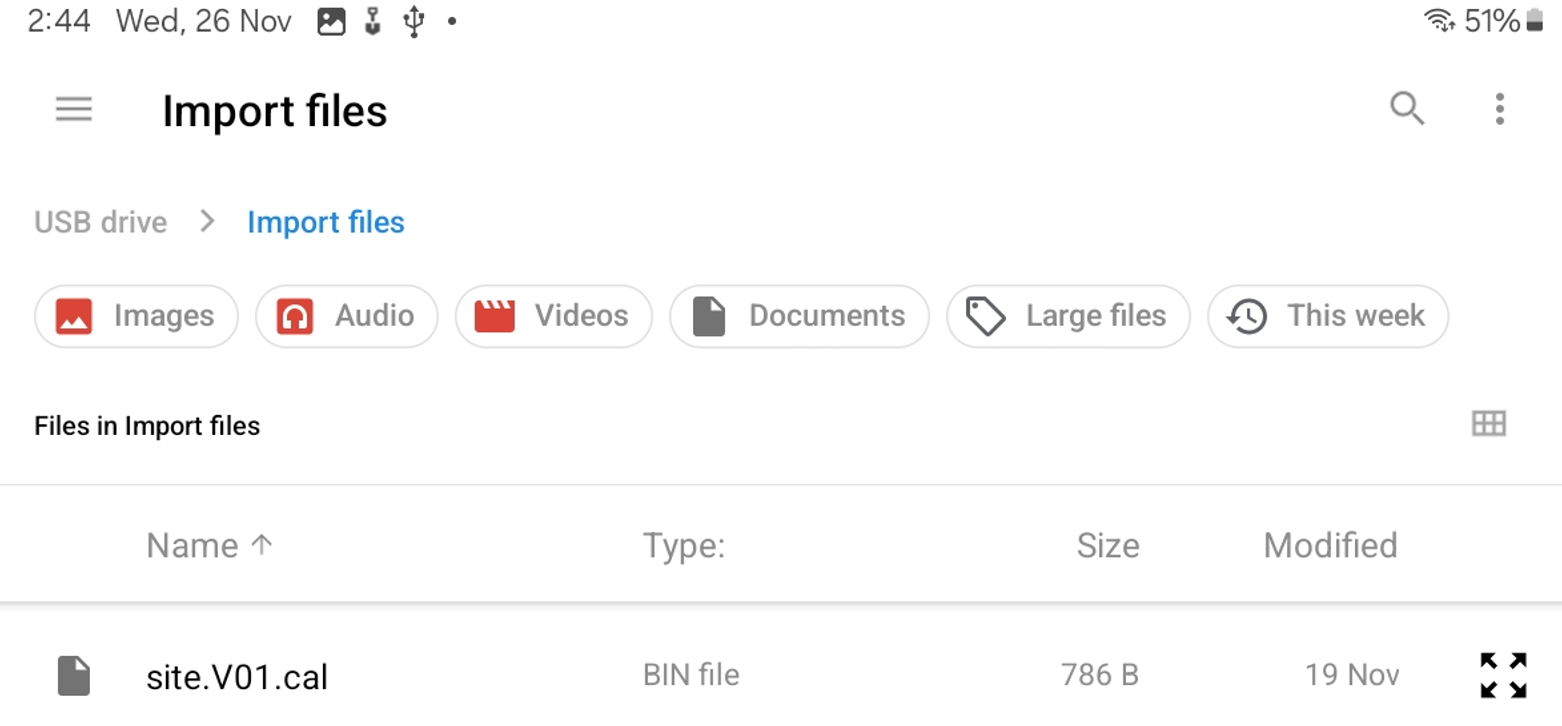
Select the .cal file
-
Complete the import.
-
Repeat the import process for any other required project files by selecting the Project created above as the Destination
-
Repeat steps 7-9