How do I Invite a User to a WorksOS Project?
A user can also be added to a WorksOS Project inside the WorksOS application.
Note: This operation can also still be completed for the same account and user in Trimble WorksManager. Both applications have a common backend for accounts, users, and projects, so settings for all of these aspects are mirrored in each application. |
There are two ways that a user can be added to a Project.
Ways You can Add a User to a Project
From the Users Page
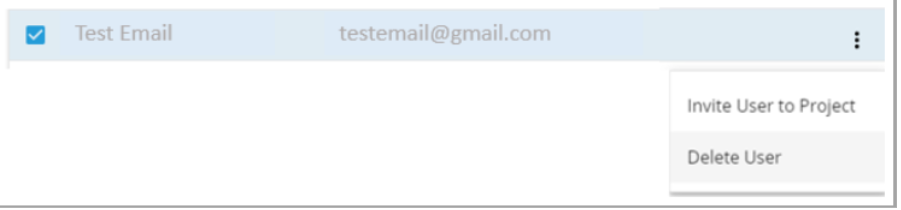
Once a user has been added to an account in the Users Page, they can be added straight to Projects by checking the box next to their name.
- Click the More icon (ellipsis) and choose “Invite User to Project”.
An “Invite to Project” pane slides out from the right-hand side of the screen. All existing 3D Enabled type projects for the entire account will be listed by name. - Check the selected Project(s) by name to add the user to.
Note: You can add a single user to a single project, a single user to multiple projects, or multiple users to multiple projects using the above steps. |
- Once the project(s) are selected, click the blue “Next” button.
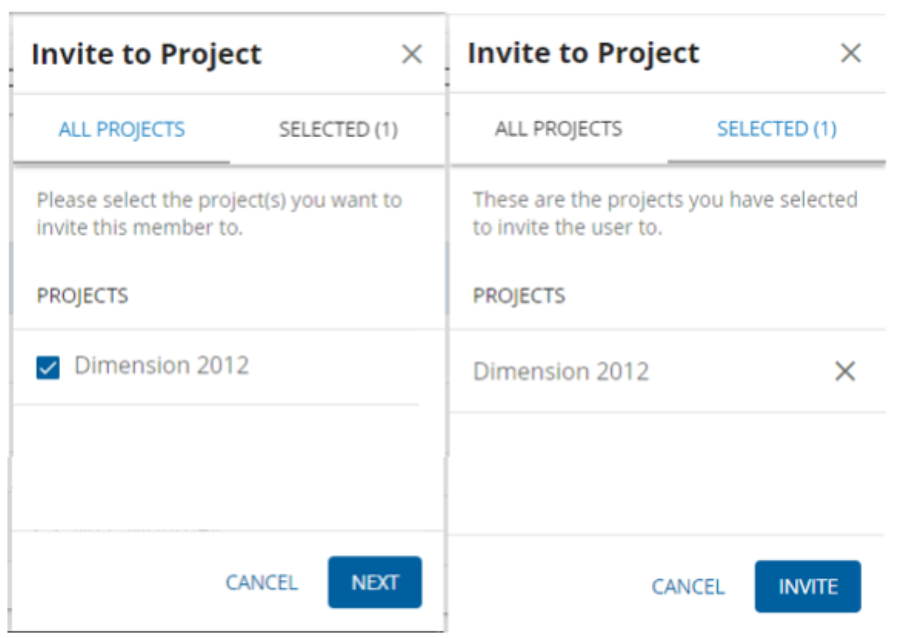
- Once you have selected user(s) to become members for a project, click the blue “Next” button. The selected users will be listed by email address now.
- Click the blue “Invite” button and a notification will appear in the bottom left corner of the screen informing you an invitation has been sent to that email address(es).
From the Projects Page
- Find the intended project’s thumbnail on the Projects Page, click the More icon (ellipsis), and select “View Project Members”.
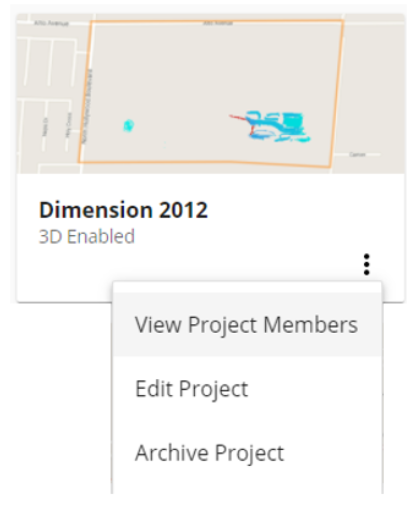
You are taken to the “Project Members” page which lists all existing users for the selected project (thumbnail).

- To add a user, click the blue “Invite” button in the top right-hand corner.
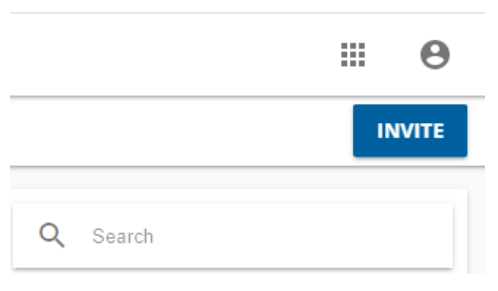
An “Invite Members to XX Project” UI slider will appear from the right hand side of the screen. All existing users for the entire account will be listed by name. - Either click the + button to select an existing user from the list or, alternatively, type their email address.
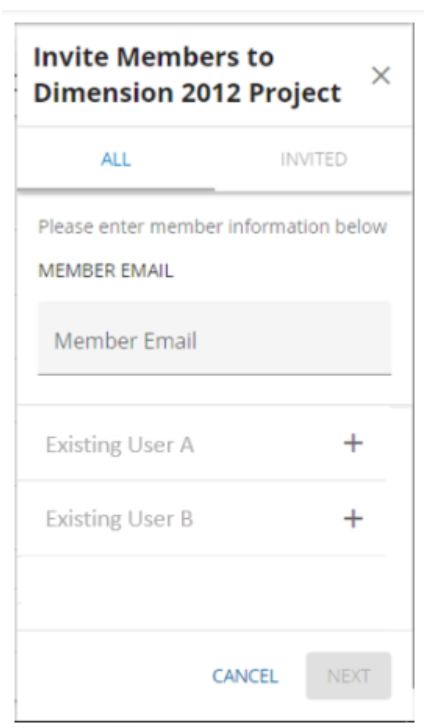
Note: You can add multiple users at once by repeating the above steps, once for each user. |
- Once you have selected user(s) to become members for a project, click the blue “Next” button. The selected users will be listed by email address.
- Click the blue “Invite” button and a notification will appear in the bottom left corner of the screen informing you an invitation has been sent to the email address(es).
Once a user is invited to a project (using either method above), they should receive an email notification in their inbox that they have been invited to an account (if not, suggest that they check their Junk Mail folders or email security settings).
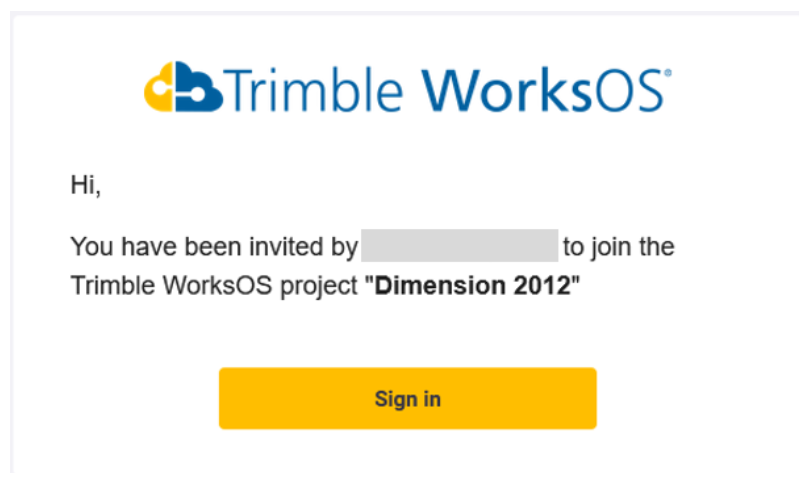
The invitee can click the “Sign In” link and login to WorkOS; the Project will then be available in the Projects page as a new thumbnail.
Note: A user must be invited to an account before they can be invited to a project. Note: A user can also be deleted from a Project by going to the “Project Members” page, clicking the More icon (ellipsis), and selecting “Remove Member”. |
