You can create a Text Label using just Smart Text or using the Point Labels in Drafting to do this. The smart Text String for a Cut Fill Label is as follows
@<ELS,O,F,2,T,T>@
Where ELS means take Elevation of the Surface (you will select it when you enter this as a text String), O means from Object (as opposed to Leader Line (L) or Text Insertion Point (T)), F means False to Units Suffix (FT), 2 means 2 Decimal Places, T means True to compute the delta Z between the Point and the target Surface and T means True to add the C or F for Cut or Fill after the value.
The following is an example of something more complex that adds Point ID, Point Elevation, Surface Elevation and then C/F value
ID: @<NM,O>@
Pt Elv: @<EL,O,F>@
Surf Elv:@<ELS,O,F>@
C/F: @<ELS,O,F,2,T,T>@
The enclosed spreadsheet cover all smart text codes and how to use them.
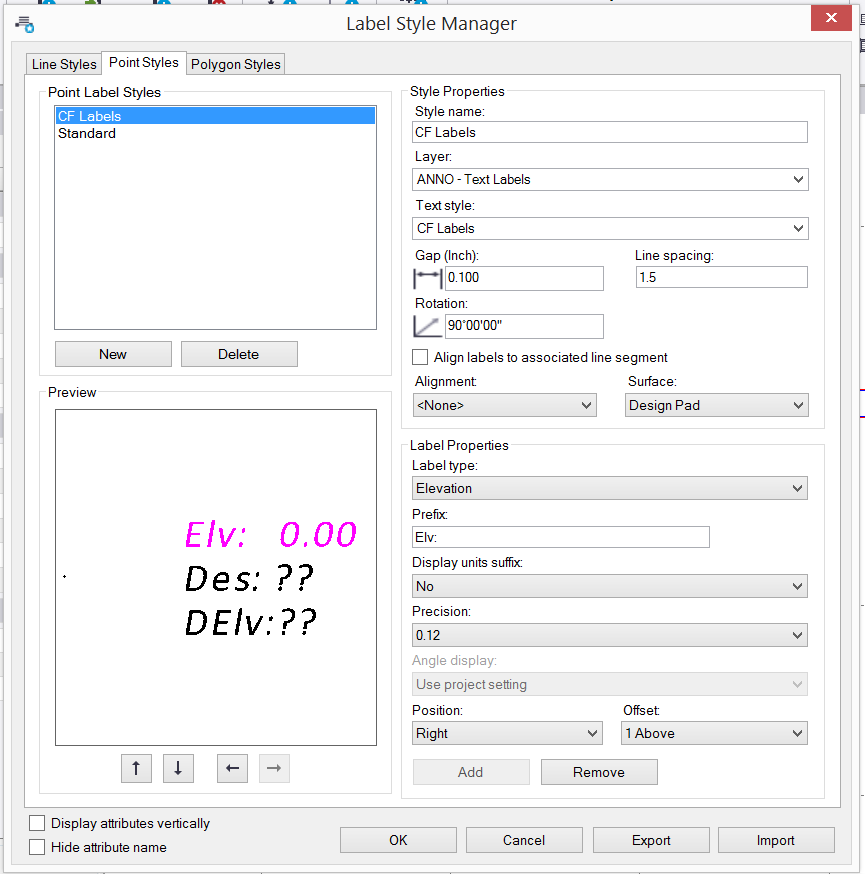
You can also do something similar if you want to e.g. Label C/F Values at all measured points compared to a surface - rather than one label at a time per location - that would use the Point Labels function from Drafting Menu (my custom ribbon setup for TBC v5.1) - and here is a dialog set up do that (Label Style Manager). Note that each Label Style in a single project can reference a single surface model and alignment. If you want to label different points to different surfaces i the same project then each will need a different label style (copy) so that you can reference a different surface model. Watch the PUG 2.0 Video if you need more assistance. Here is a link to that Blog Post f you need it. The first session is the one that covers the Smart Text use and Point Labeling routines.
Click Here for PUG 2.0 Training Materials
The PUG 2.0 Training Materials Blog Post covers these in some detail - there is a Video and sample files as well as the enclosed spreadsheet in that location also.
Hope this helps
Alan